Now that it’s summertime, we just seem to be craving all the cold things, including ice-cream. However, most options available at the store aren’t too great, are they? It’s still so difficult to find a dairy-free option which tastes nice.
I was lucky enough to take up a homemade ice-cream course taught by Venu Sanz. Not only is she a brilliant cook, but a fabulous teacher as well. It was such a lovely experience and I learnt so many things from her.
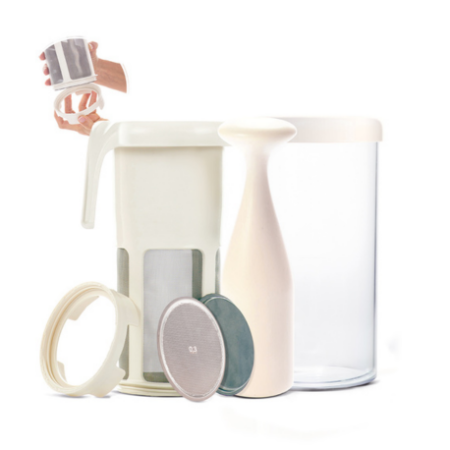
I decided to test my recently acquired knowledge by making ice-cream from one of my homemade plant milks. Following all of Venu’s instructions closely (which I don’t often do, since I love improvising!) I ended up making a brilliant homemade dairy and gluten-free ice-cream, good enough to rival its Italian gelatti counterparts.
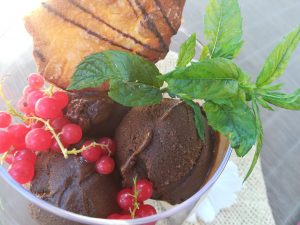
Today’s recipe is my favourite one, a coffee flavoured version made with almond milk.

Ingredients (yields about 2 pints)
-
400ml. homemade almond milk
-
130 grams cashews (must be soaked for at least 8 hours)
-
2 tsp. Arrowroot or kuzu powder
-
60 grams instant coffee powder
-
220 grams rice syrup
Instructions
- Soak cashews for 8 hours. Then, discard the soaking liquid and put cashews in a big bowl/jar (at least 1L capacity)
- Add almond milk and blend with a hand blender or food processor. It will turn out very liquidy, but don’t worry as it’s normal.
- Next, add the following ingredients and blend after each one: kuzu or arrowroot, instant coffee powder and rice syrup.
- Pour mixture into a different container and if you have an ice-cream maker, use this to make your ice-cream. If not, you can do as it follows.
- Whisk this mixture manually with a fork during one minute. You need to do this every 45 minutes for the first 4 hours of freezing. This will help breaking the small ice crystals forming in the ice-cream, which is what an ice-cream maker is usually for, which will turn out in a creamier ice-cream.
- When you’re whisking this ice-cream for both the first and second time, you’ll see that it’s quite liquid-y. Worry not, as this is how the mixture is supposed to be. As you’re whisking for the forth and fifth times, you’ll see that the ice-cream is much creamier and smoother. Once you’ve been whisking for at least 4 hours (in 45 minutes intervals), you can leave the ice-cream in the freezer to chill.
- Before eating, it’s great to let it chill at room temp for about 10 minutes, so the texture resembles that of a store-bought ice-cream.
Tips and tricks
If you’d like to switch things up a bit, feel free to add some vanilla or orange peel.
Almond milk can be subbed by homemade coconut milk, which might add a bit of a flavour hint to the ice-cream, but it still tastes lovely and it will yield an even creamier ice-cream. You’ll only need 350ml in this case.
Enjoy!


0 Comments