Rice milk is one of the world’s most popular plant milks. It’s suitable for people with dairy, gluten and nut allergies and also slow to digest (meaning that it works well for diabetics and people who have trouble processing certain foods!), so it isn’t surprising that the number of people choosing rice milk over other plant drinks is growing everyday.
| NUTRITIONAL VALUES | x 100 ml | x 250 ml | |
|---|---|---|---|
| Energy value | 8,40 | 20,90 | kcal |
| 35,60 | 88,90 | kj | |
| Fats | 0,00 | 0,10 | g |
| *of which saturated | 0,00 | 0,00 | g |
| Carbohydrates | 1,80 | 4,60 | g |
| *of which sugars | 0,00 | 0,00 | g |
| Dietary fiber | 0,00 | 0,10 | g |
| Proteins | 0,20 | 0,40 | g |
| Salt | 0,10 | 0,30 | g |
| VITAMINS and MINERALS | |||
| Calcium | 0,20 | 0,50 | mg |
| Iron | 0,00 | 0,00 | mg |
| Magnesium | 0,80 | 2,10 | mg |
| Phosphorus | 2,60 | 6,50 | mg |
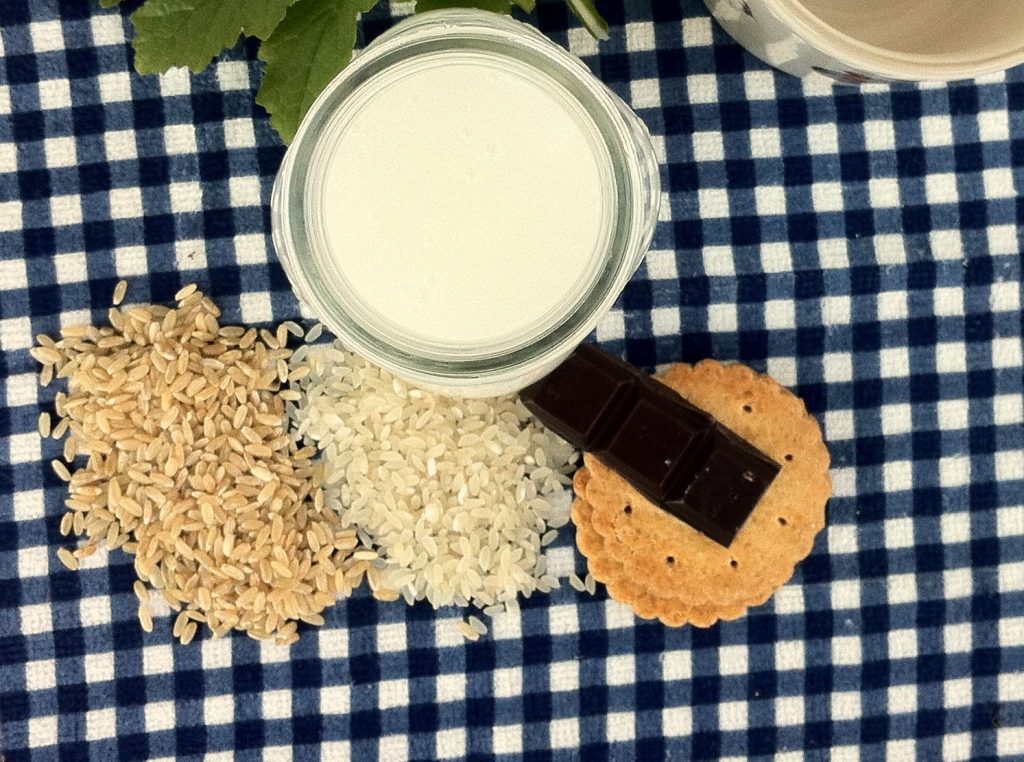
There’s plenty of different ways to make rice milk. Maybe you like to use rice flakes, perhaps you like rice flour better. You could also use soaked, raw rice grains or even cook the grain instead!
We’ve tried all the different methods so you didn’t have to do it and after all the research, we’re happy to introduce you to our new favorite method.
This new revolutionary way to make rice milk may seem a bit different from every other method you might have heard about. However, it’s only advantages you’re getting, since you’ll need a lot less rice to make your milk and also, you’ll be saving time since there’s no need to soak the grain.
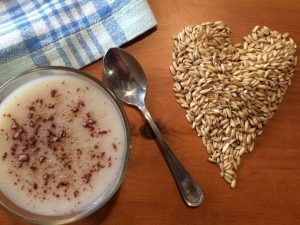
The result is a sweet, creamy milk which keeps its lovely texture even after it’s been heated (aka no more outrageously thick milk every time you want to warm it!).
We know you’ll love it so give it a go!
Ingredients:
- 1 litre hot water (70ºC)
- 40 grams raw rice (you can use any variety: brown, basmati, round-grain, etc)
- A pinch of salt
Instructions:
1.Wash rice with water thoroughly.
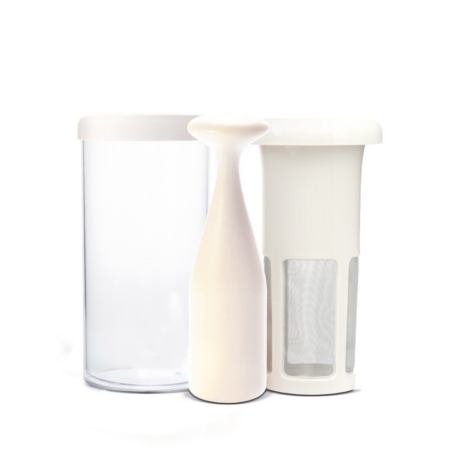
2.Add half a litre of warm water to the Vegan Milker by ChufaMix vase.
3.Put the filtering attachement in the vase, add raw rice and salt and blend everything for two minutes, using the most powerful setting your hand blender offers.
4.Add the remaining half a litre of water to the milk (it can be lukewarm or hot – it doesn’t really matter) and blend for about 10 seconds more so the mixture is smooth.
5.Remove the filtering attachement from the vase and lightly press the pulp with the mortair so you can squeeze every remaining bit of milk from the pulp.
6.Pour milk in a saucepan and heat on low hear for about 7-10 minutes, stirring often so it doesn’t burn.
7.If you aren’t drinking the milk right away, let it chill on the fridge once it’s cooled.
Tips and tricks:
1-Feel free to add any natural flavoring (ie: cinnamon, ginger, lemon rind, etc…) to this milk. To do so, add desired spices to the filtering attachement right before blending or put them in the saucepan to infuse the mixture while it cooks.
2-You can use the remaining pulp in stews in order to add extra nutrition. Simply add it to the pot in the last 10 minutes of cooking.
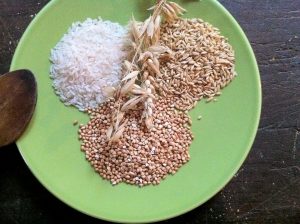
3-You can use this method to make any other cereal milk as spelt milk, oat milk, wheat, kamut, barley milk… Put 40 grams of your favorite cereal (raw grain) and follow the instructions. You’ll get a creamy and tasty cereal milk, so nutritious and cheap!
What makes this different from the old raw method to make rice milk?
So far, we’ve been using the no-cooking, raw rice method, which lots of people prefer since it has some nice health benefits and also saves time due to not having to cook the grain, just soak it.
There are some cons though, because you’ll likely need more rice to obtain a creamier drink. Also, it is necessary to soak the grain for about 8-12 hours. The rest of the process is identical to the one explained above except that you do not need to cook the milk. This method yields a milk which will separate into solids and water in the fridge, so you’ll have to stir it well before serving.
Another downside is that if you’d like to drink warm milk and decide to heat it, you need to pay special attention and stir it often so it doesn’t form lumps and thickens too much. As you might know, rice is a starch-rich grain, so this starch makes it more likely to turn into pudding (which may or may not be that bad of a problem… you can always make rice pudding this way, right?).
We hope you’ll enjoy this new recipe as much as we did!
Stay tuned for more info on your favorite plant milks!


Do you boil the milk at the end of the process?